
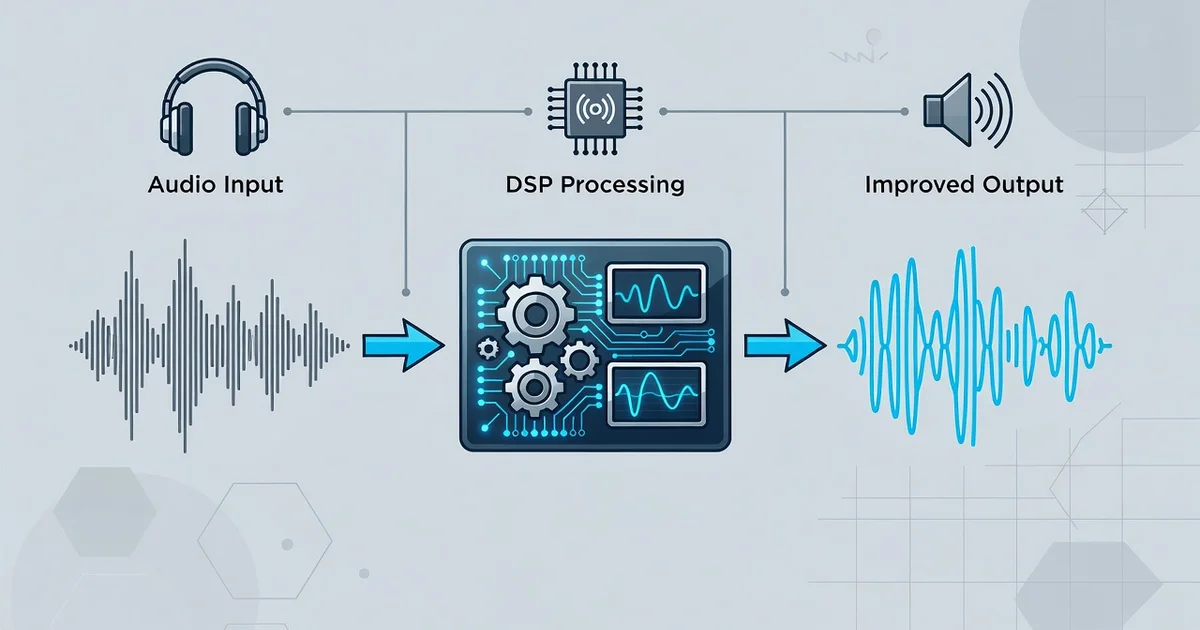
Ever wonder why some audio sounds crisp and immersive while other tracks feel flat and lifeless? The difference often comes down to digital signal processing, or DSP—a technology that cleans up, enhances, and refines sound in real time. From smartphones to home theater systems, DSP works behind the scenes to remove noise, balance frequencies, and restore detail that would otherwise be lost.
In this article, we’ll break down how digital signal processing improves sound quality in everyday devices. You’ll learn the core techniques, practical benefits, and simple ways to apply DSP settings for noticeably better audio—no engineering degree required.
Introduction
Sound quality is not just a matter of expensive speakers or high-end headphones. The journey from a raw audio file or a live microphone signal to what your ears finally perceive is shaped by a series of mathematical operations known as digital signal processing, or DSP. Whether you are streaming music, taking a phone call, editing a podcast, or listening to a home theater system, DSP is working behind the scenes to clean up noise, balance frequencies, and make audio sound richer and more natural.
This article explores How Digital Signal Processing Improves Sound Quality with clear, practical guidance. You do not need an engineering degree to benefit from understanding DSP. By grasping a few core ideas—sampling, filtering, equalization, and dynamic range control—you can make smarter choices about the gear you buy, the settings you adjust, and the habits you build. Understanding the fundamentals of How Digital Signal Processing Improves Sound Quality helps you make informed decisions, whether you are a casual listener, a musician, a content creator, or someone setting up a home studio.
Throughout this guide, we will move from basic concepts to practical steps. You will learn what DSP actually does, why it matters for everyday listening, and how to apply proven methods to improve the sound you hear and produce. Reliable information and consistent habits lead to better long-term outcomes—not just one-time tweaks, but a durable improvement in audio quality.
Key Concepts
Before diving into specific techniques, it helps to understand the handful of core ideas that make DSP effective. These concepts appear in almost every device that processes digital audio, from a smartphone to a professional mixing console.
What Is Digital Signal Processing?
Digital signal processing is the use of mathematical algorithms to manipulate digital audio signals. An analog sound wave is first converted into a stream of numbers by an analog-to-digital converter (ADC). Once in digital form, the signal can be filtered, amplified, compressed, delayed, or otherwise altered with precision that would be difficult or impossible in the analog domain. After processing, a digital-to-analog converter (DAC) turns the numbers back into a wave you can hear.
Sampling and Quantization
Two fundamental steps determine the baseline quality of any digital audio. Sampling captures the amplitude of a sound wave at regular intervals—typically 44,100 times per second for CD-quality audio. Quantization assigns each sample a numerical value within a fixed bit depth, such as 16-bit or 24-bit. Higher sample rates capture more high-frequency detail, while greater bit depth reduces the noise floor and preserves quiet passages. DSP operates on these numbers, so a clean, high-resolution starting point gives the algorithms more to work with.
Filtering and Equalization
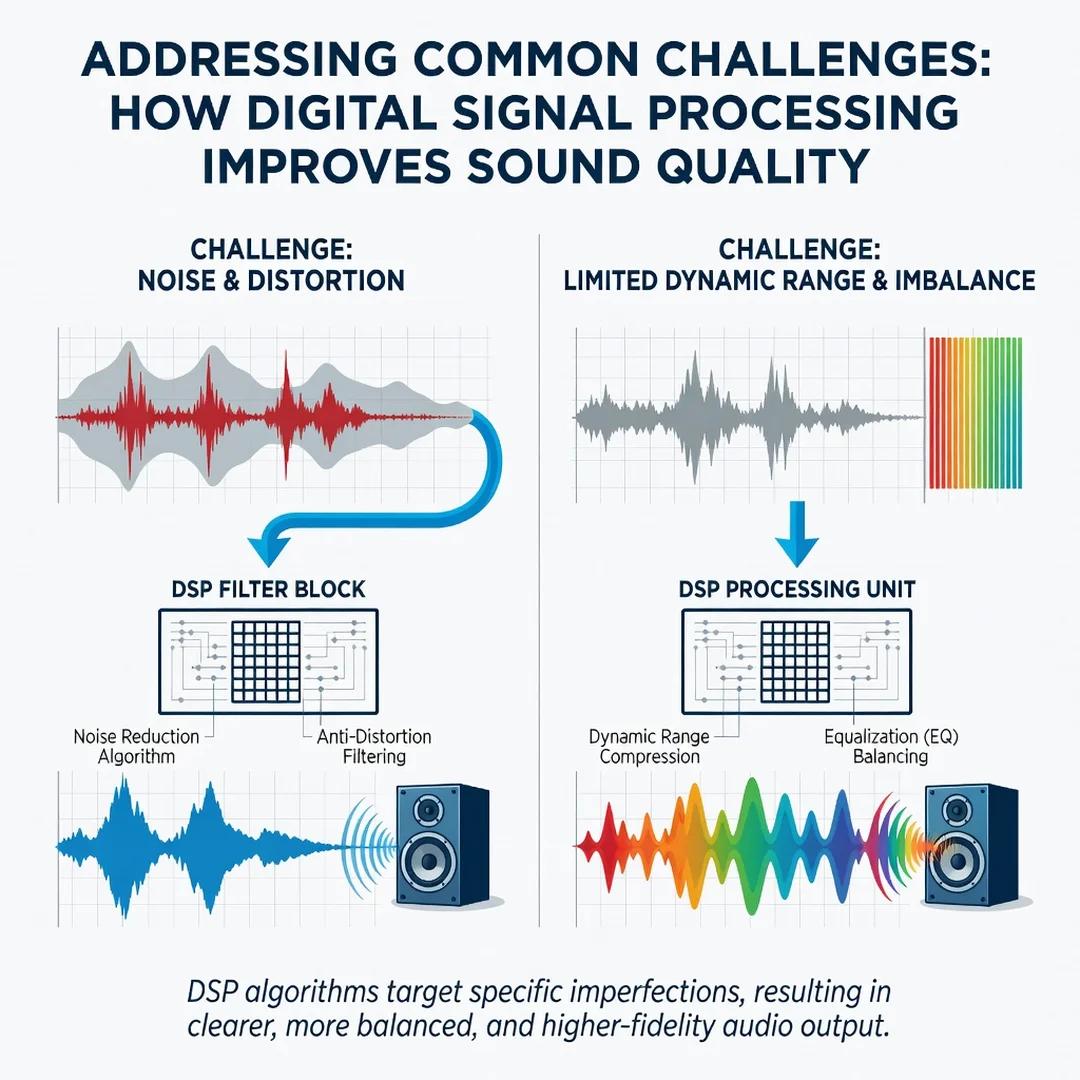
Filters are the workhorses of DSP. A low-pass filter removes high frequencies, a high-pass filter removes low frequencies, and a band-pass filter keeps only a specific range. Equalization (EQ) is a collection of filters that adjusts the balance of frequency bands. For example, a slight boost around 3 kHz can make vocals more intelligible, while cutting muddy frequencies around 200–400 Hz can clean up a boomy room. Modern DSP can apply dozens of filters in real time without noticeable latency.
Dynamic Range Control
Dynamic range is the difference between the quietest and loudest parts of a recording. Compressors and limiters reduce that range so quiet details remain audible without the loud parts becoming distorted. This is why a television commercial sounds louder than the movie you were watching—DSP-based compression is working aggressively. Used well, dynamic range control makes music sound more consistent and speech more understandable, especially in noisy environments like a car or a busy office.
Noise Reduction and Echo Cancellation
DSP also excels at removing unwanted sound. Noise reduction algorithms analyze the frequency spectrum of background hiss, hum, or fan noise and subtract it from the main signal. Echo cancellation detects delayed copies of a speaker’s voice and cancels them out, which is why modern conference calls feel less fatiguing. These techniques rely on adaptive filters that continuously adjust to changing conditions.
Deep Dive
Now that the key concepts are clear, let us look at how DSP actually improves sound quality in real-world scenarios. The improvements fall into three broad categories: clarity, consistency, and spatial accuracy.
Clarity: Making Details Audible
Clarity is the ability to hear individual instruments, voices, and subtle textures without strain. DSP improves clarity by removing masking frequencies. Masking occurs when a loud sound in one frequency range hides a quieter sound in a nearby range. A well-designed DSP chain might use a multiband compressor to control each frequency band separately, preventing a booming bass note from swallowing up a delicate acoustic guitar. Similarly, a de-esser can tame harsh “s” sounds without dulling the entire vocal.
For everyday listeners, this means turning on features like “Clear Voice” on a soundbar or “Speech Enhancement” on a pair of earbuds. These modes are not gimmicks—they apply real-time EQ and compression tuned to the frequency range of human speech.
Consistency: Taming Room and Device Variations
No two listening environments are identical. A hotel room, a car cabin, and a living room all reflect sound differently. DSP can compensate through room correction. A calibration microphone measures how your speakers interact with the room, then the DSP applies corrective filters to flatten the response. The result is that bass no longer piles up in a corner, and dialogue remains clear even when you move around the room.
Consistency also applies across devices. Streaming services use loudness normalization—a form of DSP—to ensure that a quiet classical track and a loud pop song play back at similar levels. Without it, you would constantly reach for the volume knob.
Spatial Accuracy: Creating a Believable Soundstage
Advanced DSP can widen or narrow the perceived soundstage. A stereo widening algorithm might make two speakers sound like a much larger array. Headphone virtualization uses head-related transfer functions (HRTFs) to simulate surround sound through ordinary earbuds. While these effects can be overdone, subtle use makes movies and games more immersive without sacrificing tonal accuracy.
Latency and Real-Time Processing
One challenge of DSP is latency—the delay between input and output. For music playback, latency does not matter much. For live performance, gaming, or video conferencing, however, even a few milliseconds can cause timing problems. Modern DSP chips are fast enough to process audio in less than a millisecond, but the algorithms must be designed carefully. When you choose equipment, look for low-latency modes if you plan to monitor audio in real time.
Best Practices
Applying DSP effectively is as much about discipline as it is about technology. The following practices will help you get better results without overprocessing.
- Start with the best source possible. DSP can improve a mediocre recording, but it cannot restore detail that was never captured. Use high-quality files, good microphones, and proper gain staging.
- Make small, incremental adjustments. A boost or cut of 1–3 dB is often enough. If you find yourself moving a fader 10 dB, something else is wrong in the chain.
- Use reference tracks. Compare your processed audio against a commercial recording you know well. This keeps your ears calibrated and prevents “ear fatigue” from skewing your decisions.
- Process in the right order. A typical chain is: noise reduction, EQ, compression, then spatial effects. Changing the order changes the result, so experiment but stay consistent.
- Bypass and compare. Always check whether the DSP is actually helping. Bypass the effect and listen again. If the improvement is not obvious, simplify.
- Document your settings. Write down the presets and parameters that work for different rooms or genres. This saves time and builds a reliable workflow.
Reliable information and consistent habits lead to better long-term outcomes. Do not chase every new plugin or preset. Instead, master a small set of tools and learn how they interact with your specific listening environment.
Step-by-Step Guide to Improving Sound Quality with DSP
This section provides a practical sequence you can follow, whether you are setting up a home audio system, a podcasting rig, or a mobile listening setup.
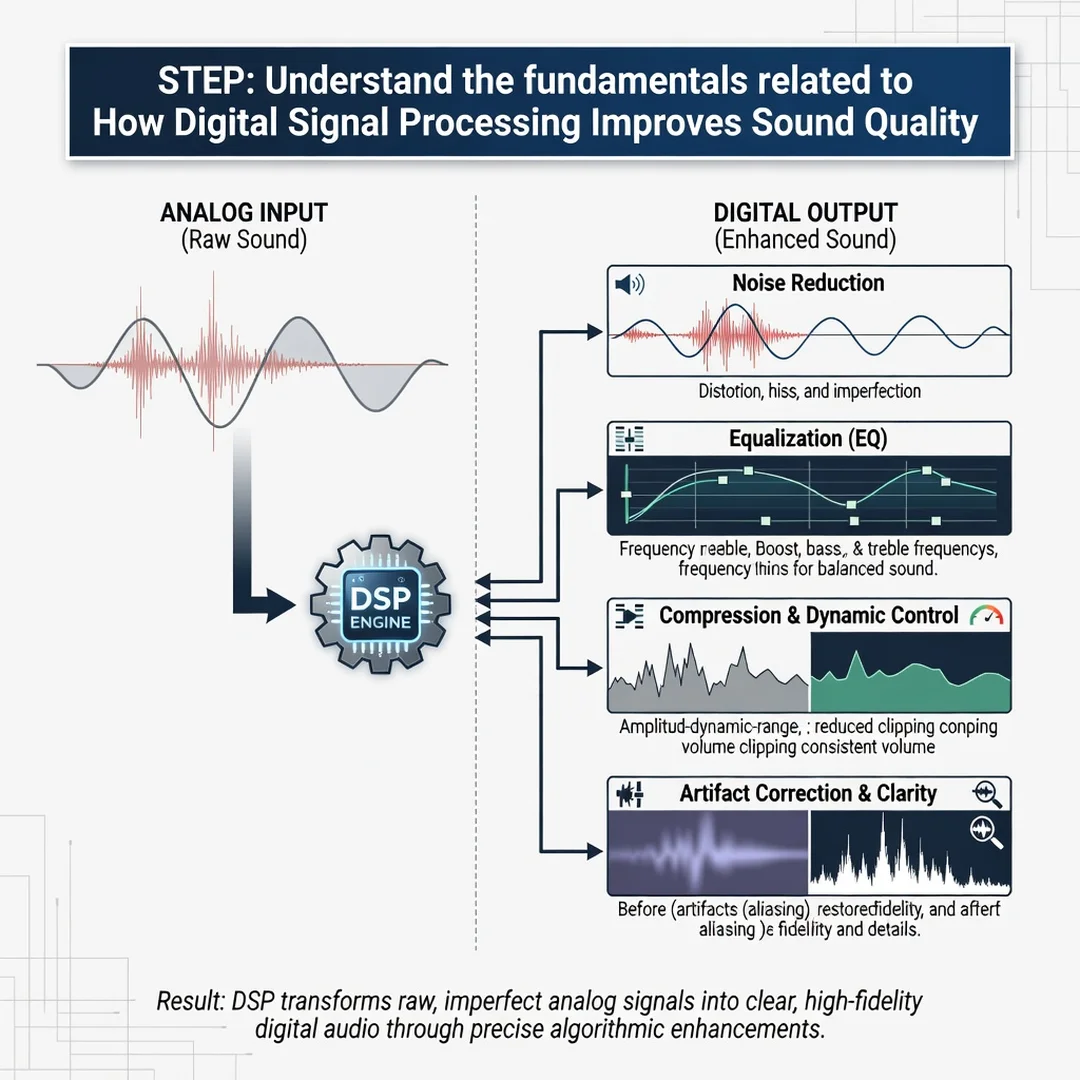
Step 1: Understand the fundamentals
Before touching any settings, make sure you understand sampling, filtering, EQ, and compression at a basic level. Read one or two introductory articles or watch a short tutorial. The goal is not to become an engineer but to know what each control does. When you understand that a high-pass filter removes rumble, you will know why your voice sounds cleaner after applying one.
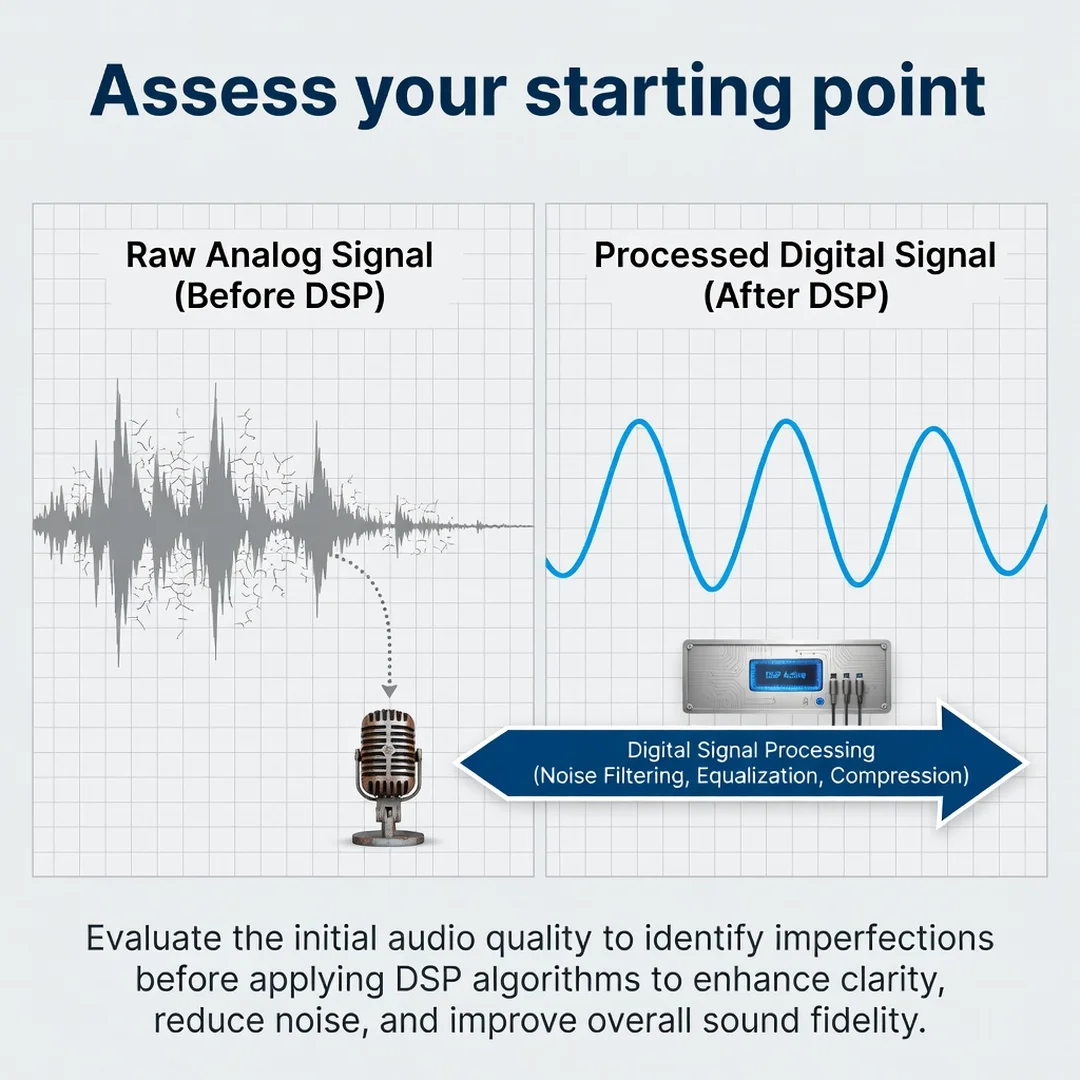
Step 2: Assess your starting point
Listen critically to your current setup. Identify specific problems: Is the bass muddy? Are voices hard to understand? Is there constant background hiss? Write these down. If possible, measure your room with a calibration microphone or use a smartphone app that displays a frequency spectrum. You cannot fix what you have not identified.
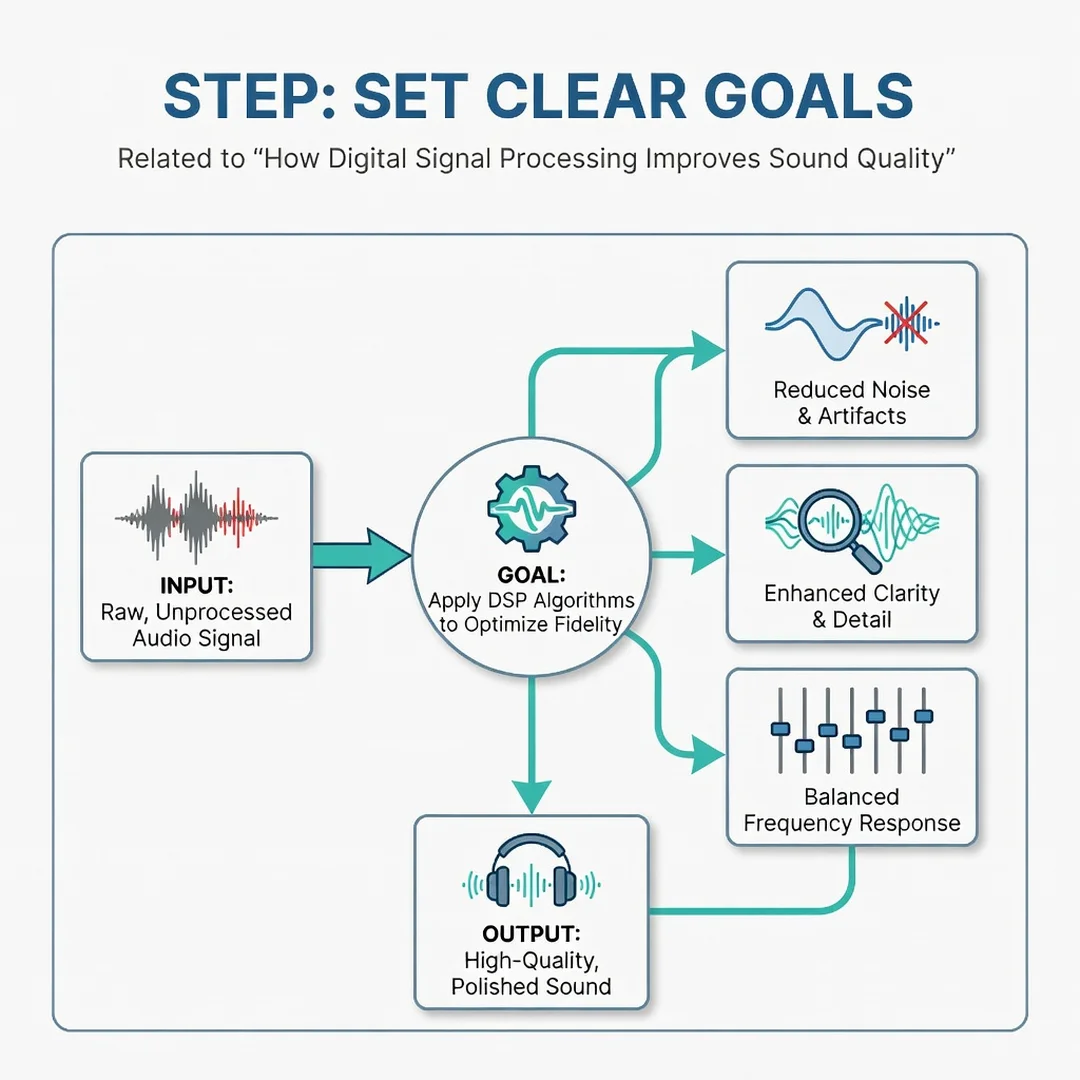
Step 3: Set clear goals
Define what “better” means for your situation. For a podcast, the goal might be “speech that is intelligible on phone speakers.” For a home theater, it might be “dialogue that stays clear during explosions.” For music listening, it might be “a flat, natural response at my listening position.” Clear goals keep you from overprocessing and help you measure success.
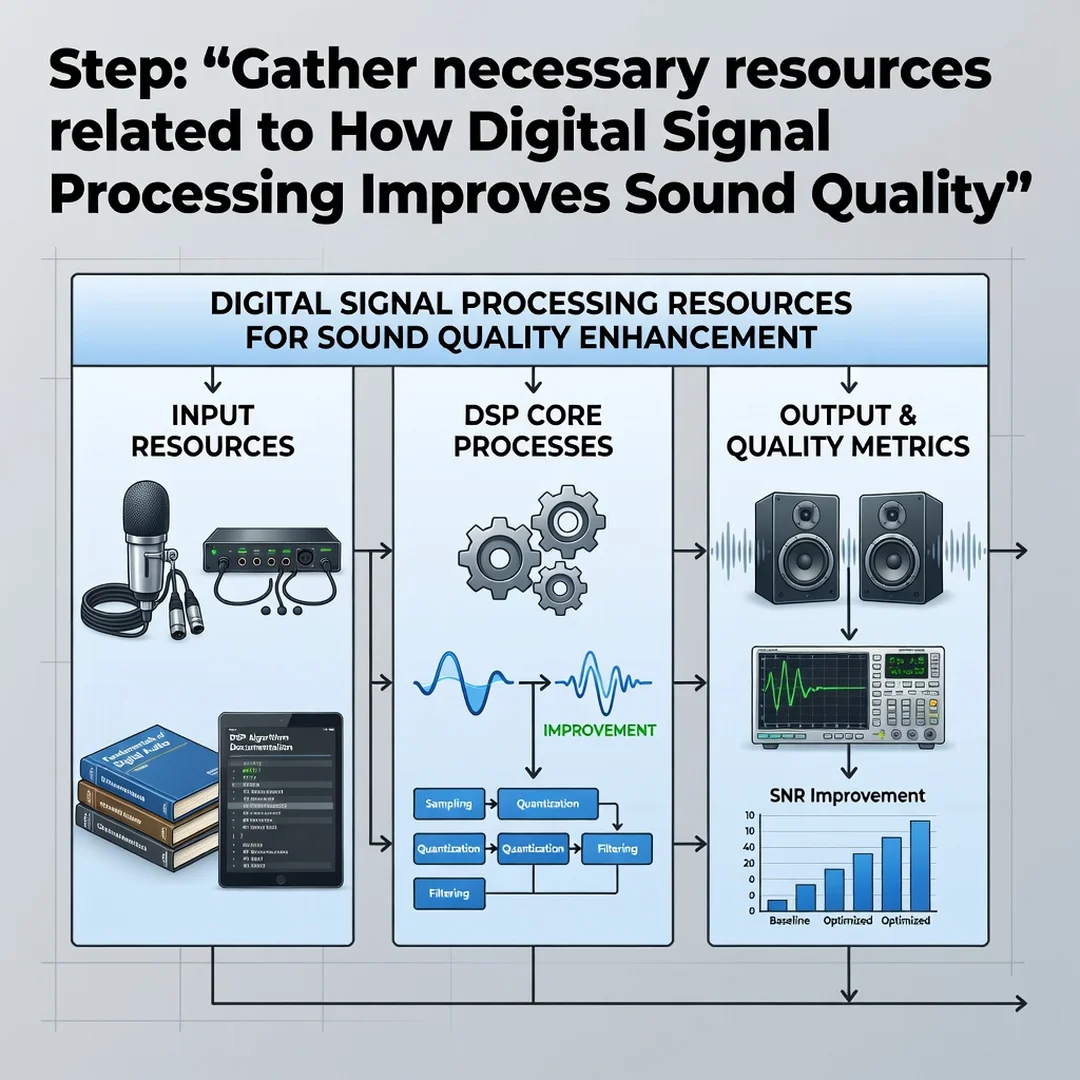
Step 4: Gather necessary resources
You will need a few tools. A digital audio workstation (DAW) or a DSP-equipped receiver is essential. Free options like Audacity or Equalizer APO work well. A calibration microphone, such as a measurement mic, helps for room correction. Reference tracks—three or four songs or recordings you know intimately—are just as important as any hardware. Finally, set aside time to listen without distractions.
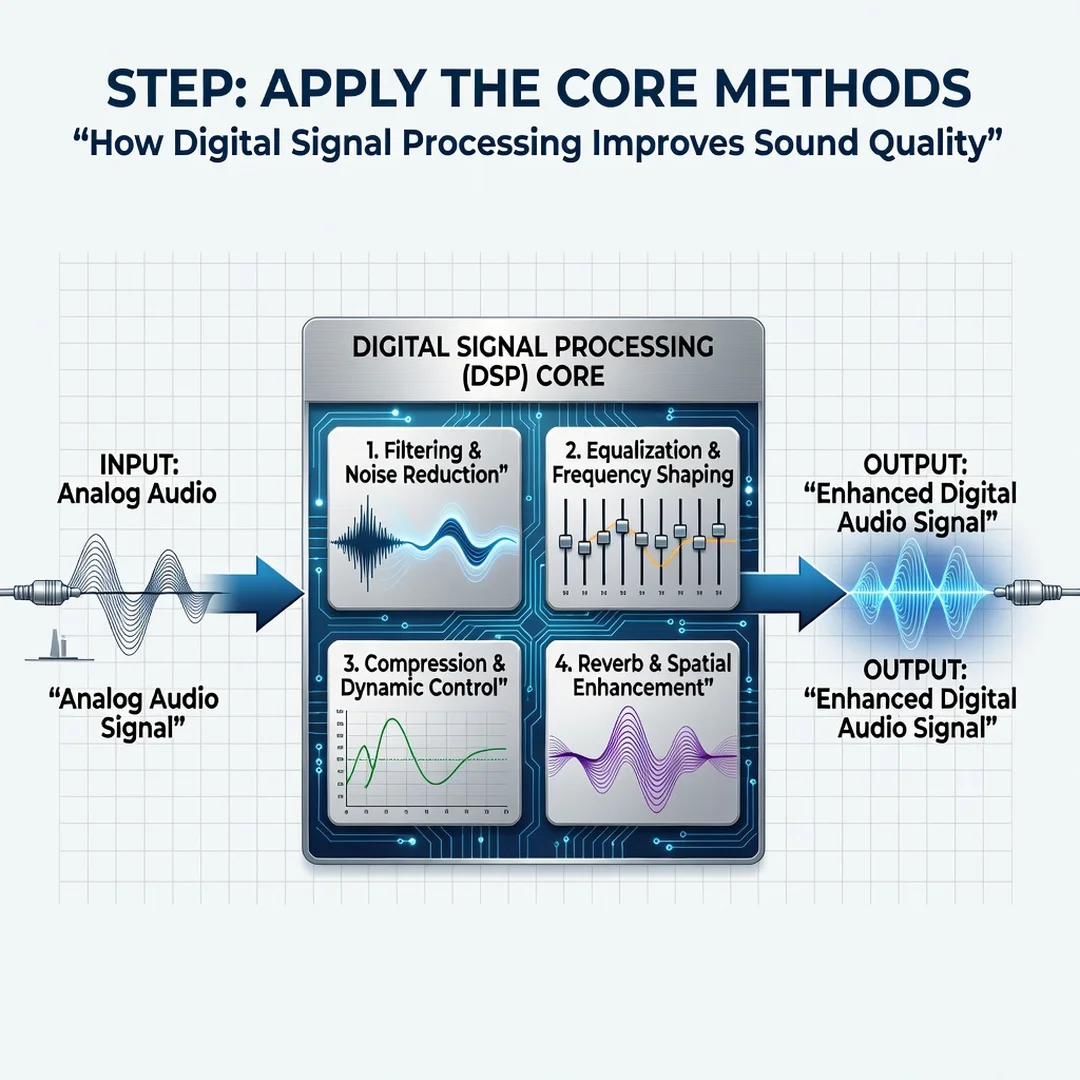
Step 5: Apply the core methods
Start with noise reduction if needed, then apply a high-pass filter to remove inaudible low rumble. Move to EQ: cut problem frequencies before boosting others. Add gentle compression to control dynamics, and use a limiter as a safety net. If your setup supports it, run a room correction sweep. Change one thing at a time and listen after each adjustment. Avoid the temptation to stack multiple effects.
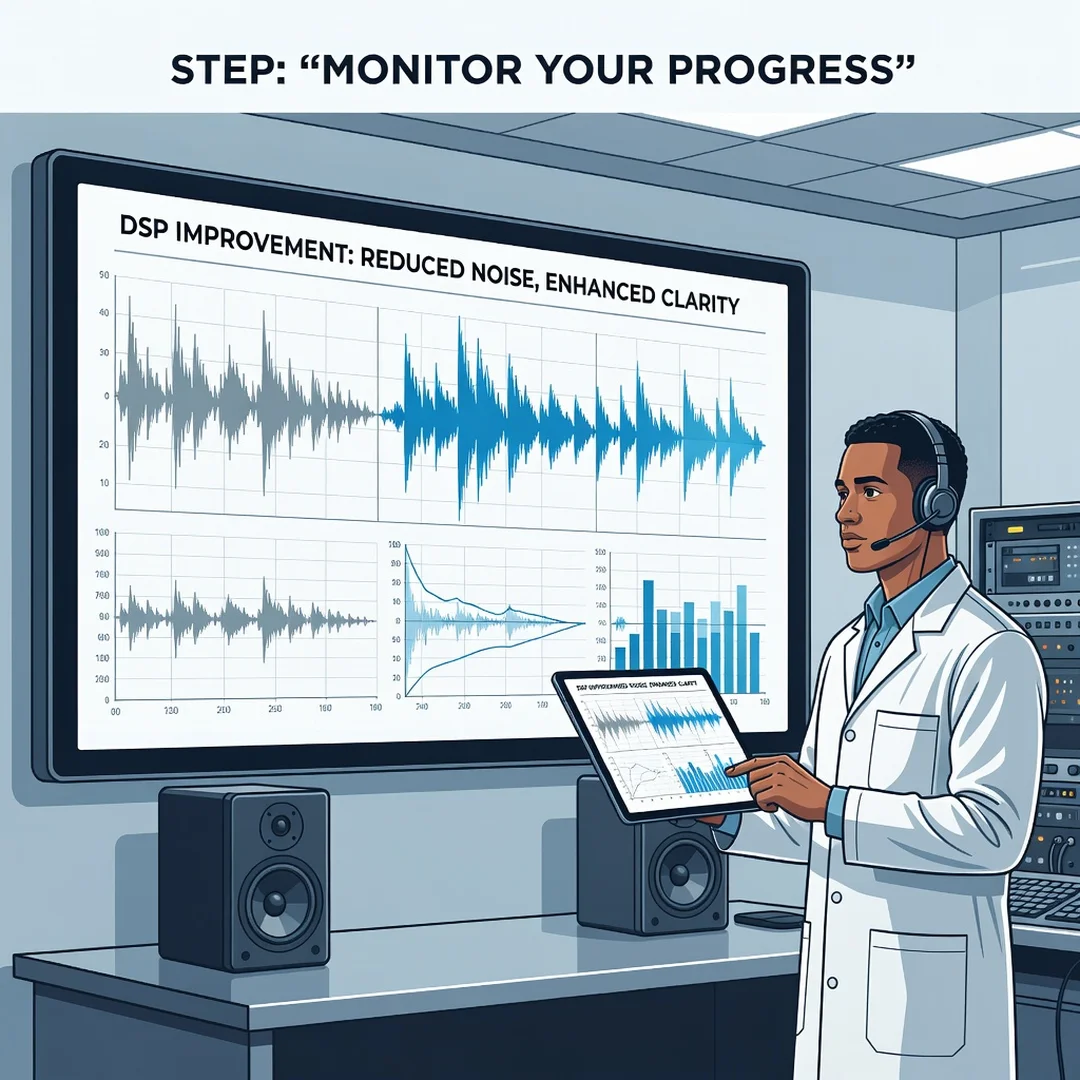
Step 6: Monitor your progress
You now have a solid foundation for How Digital Signal Processing Improves Sound Quality. Apply the best practices above and revisit this guide as your needs evolve.